 |
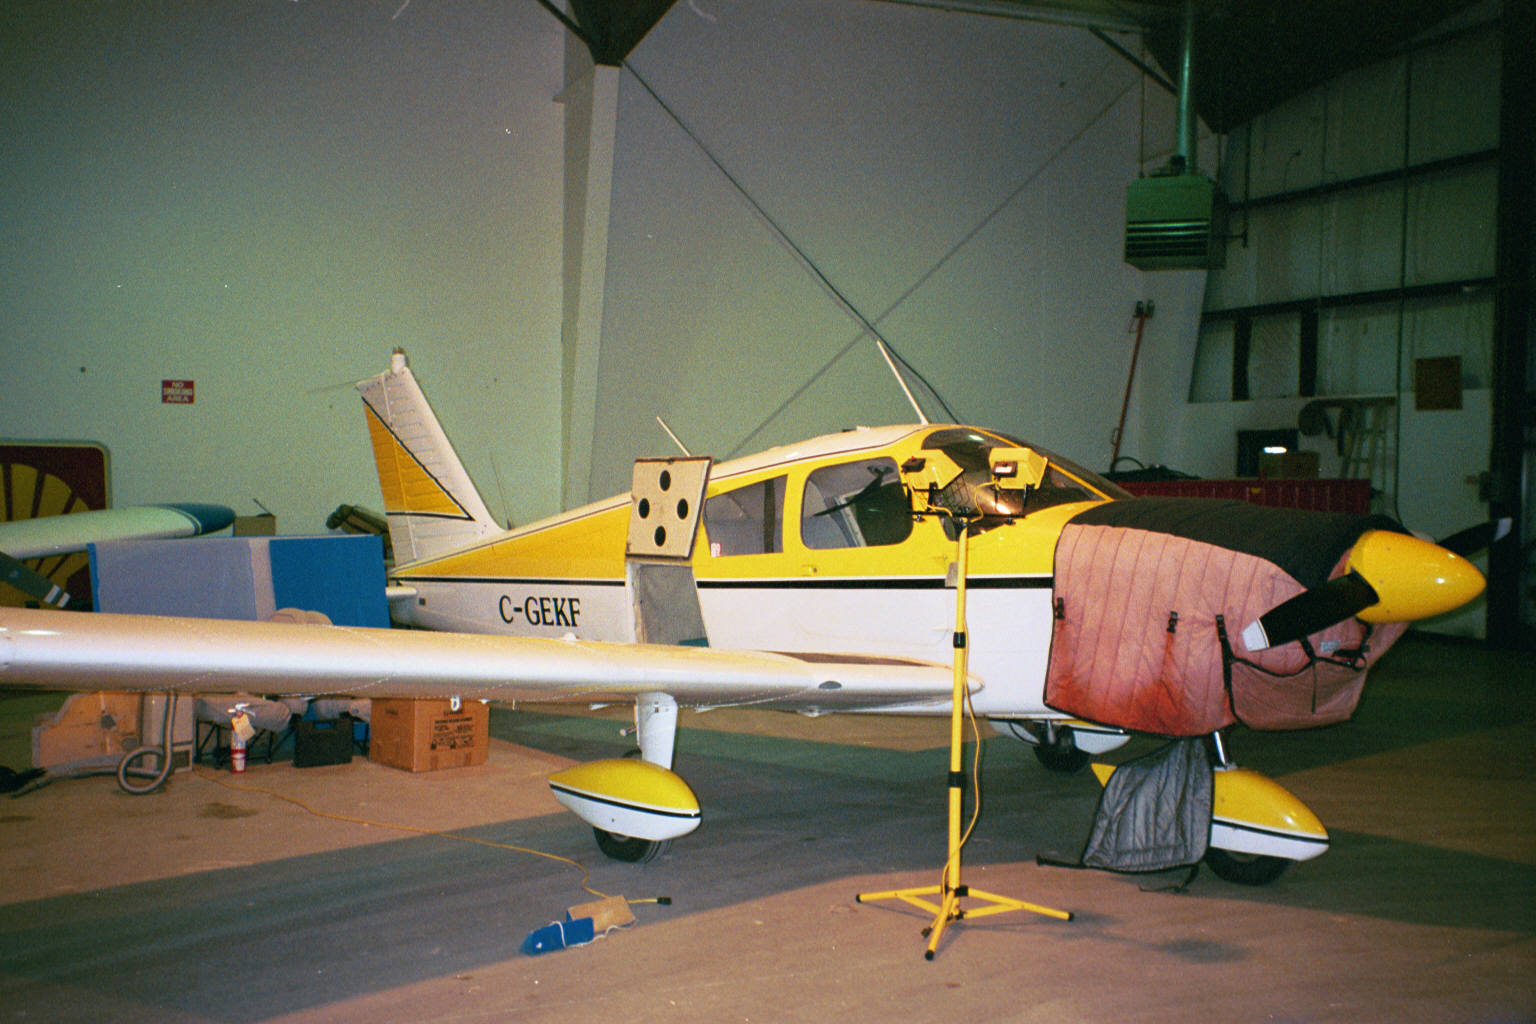
This is C-GEKF in the hanger just before I started work on Day 1. |
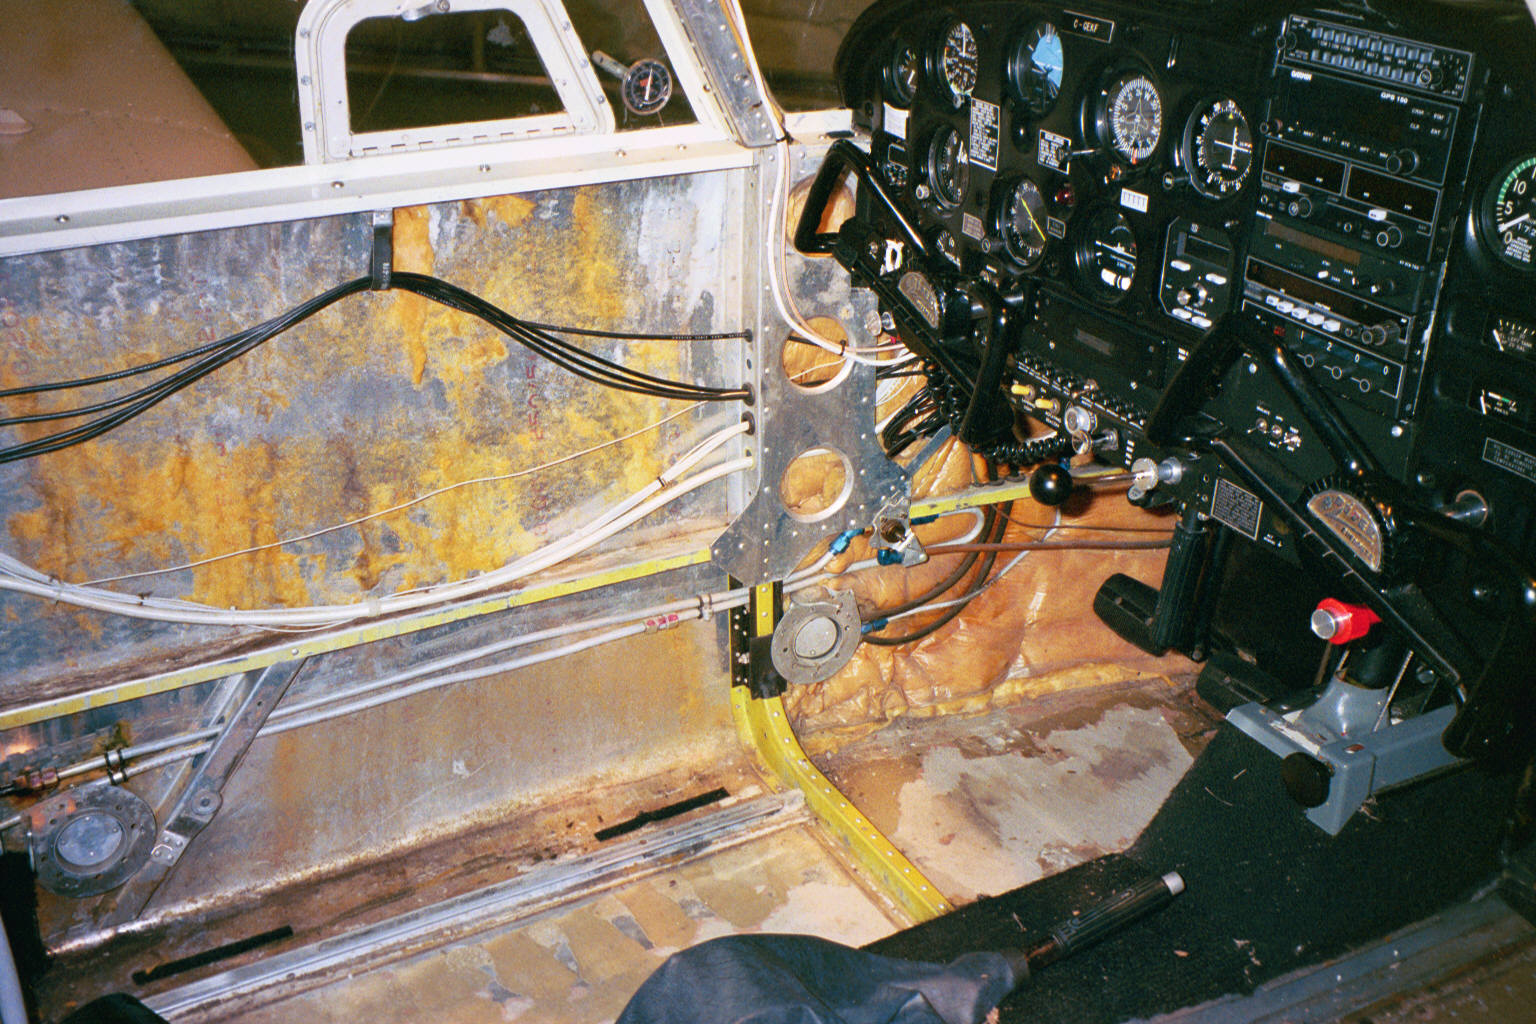 |
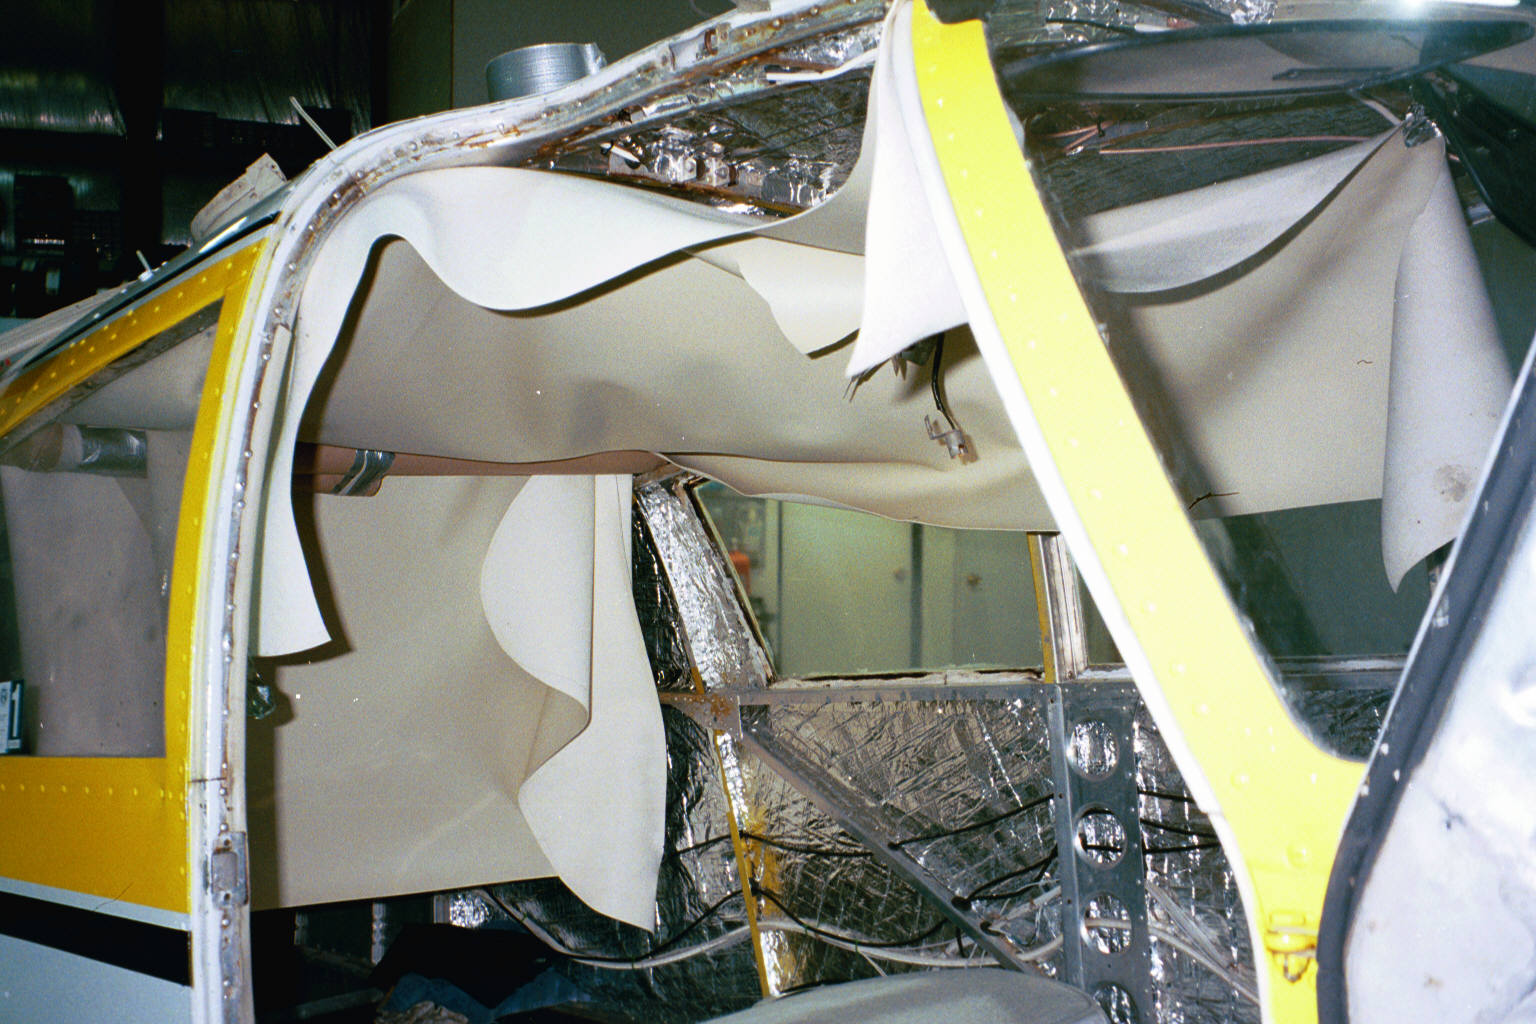
I first removed the pilots sidewall panel and the fiberglass insulation
that was underneath. Note the wiring running between the ribs. The fiberglass insulation
was 30+ years old and provided little or no insulation or soundproofing. |
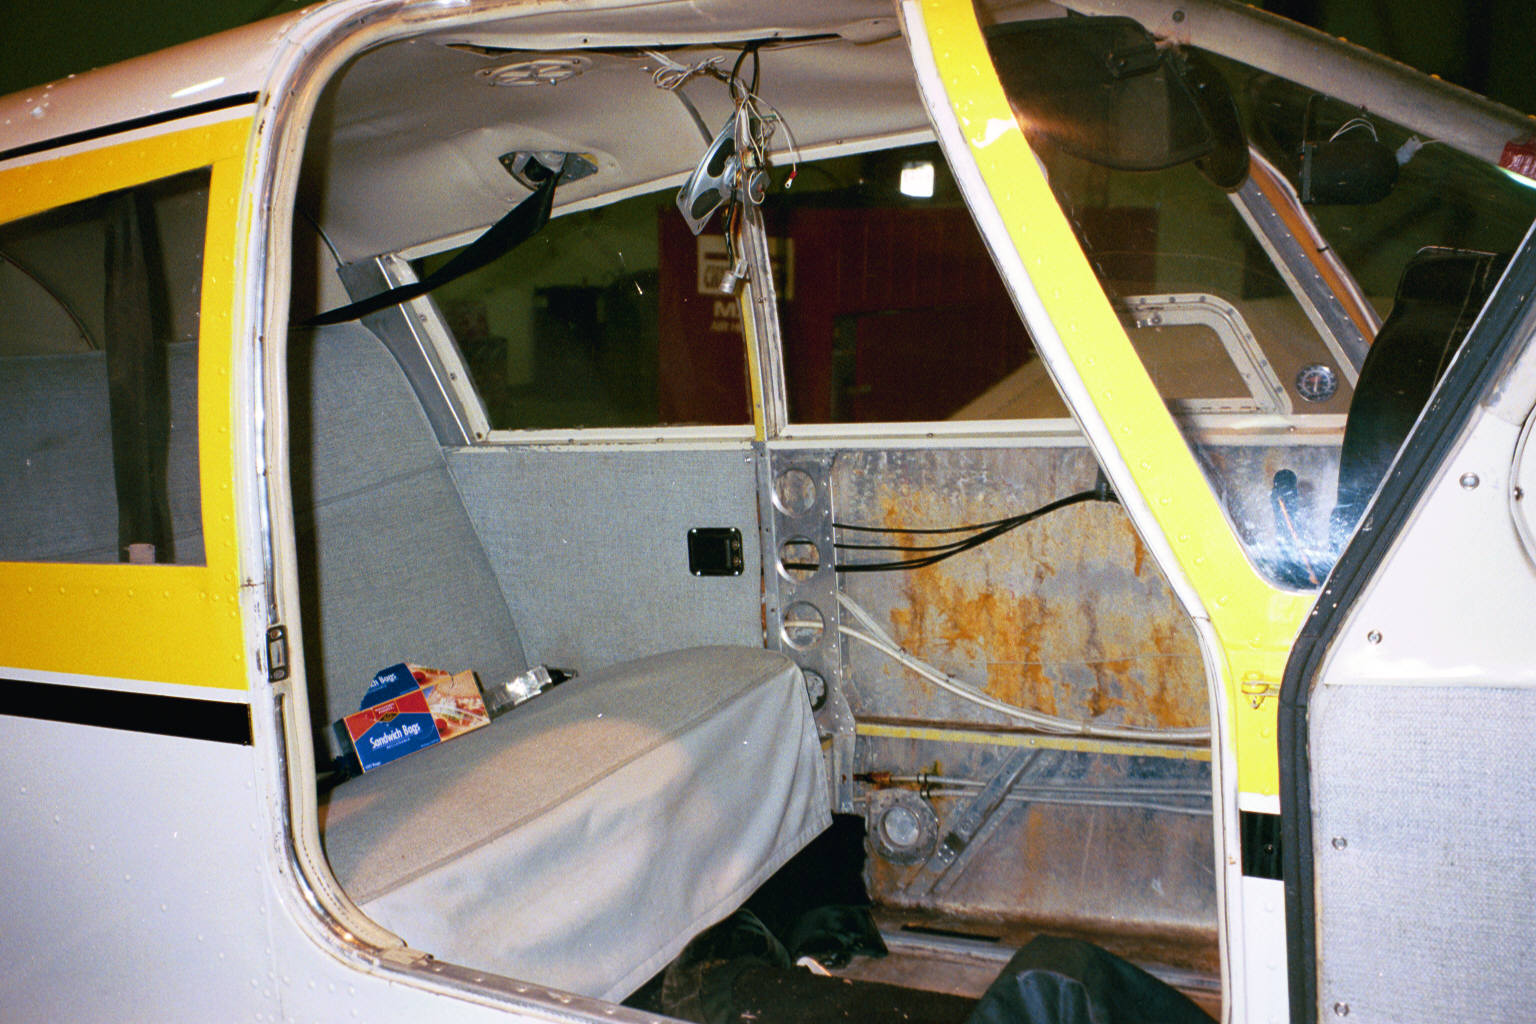 |
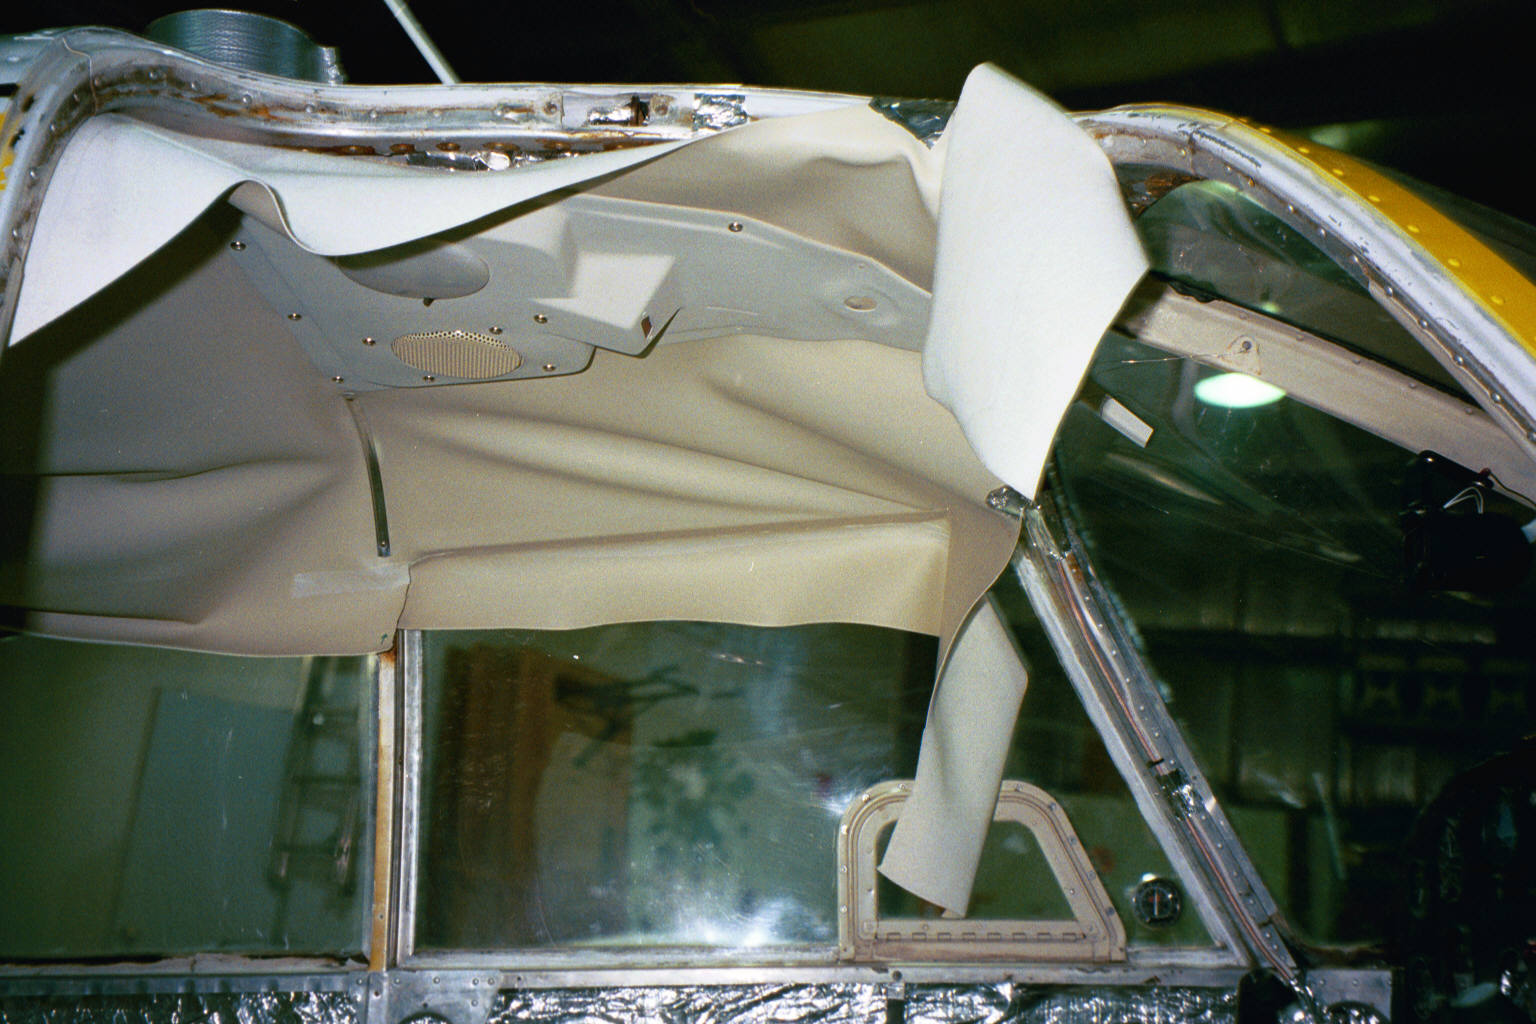
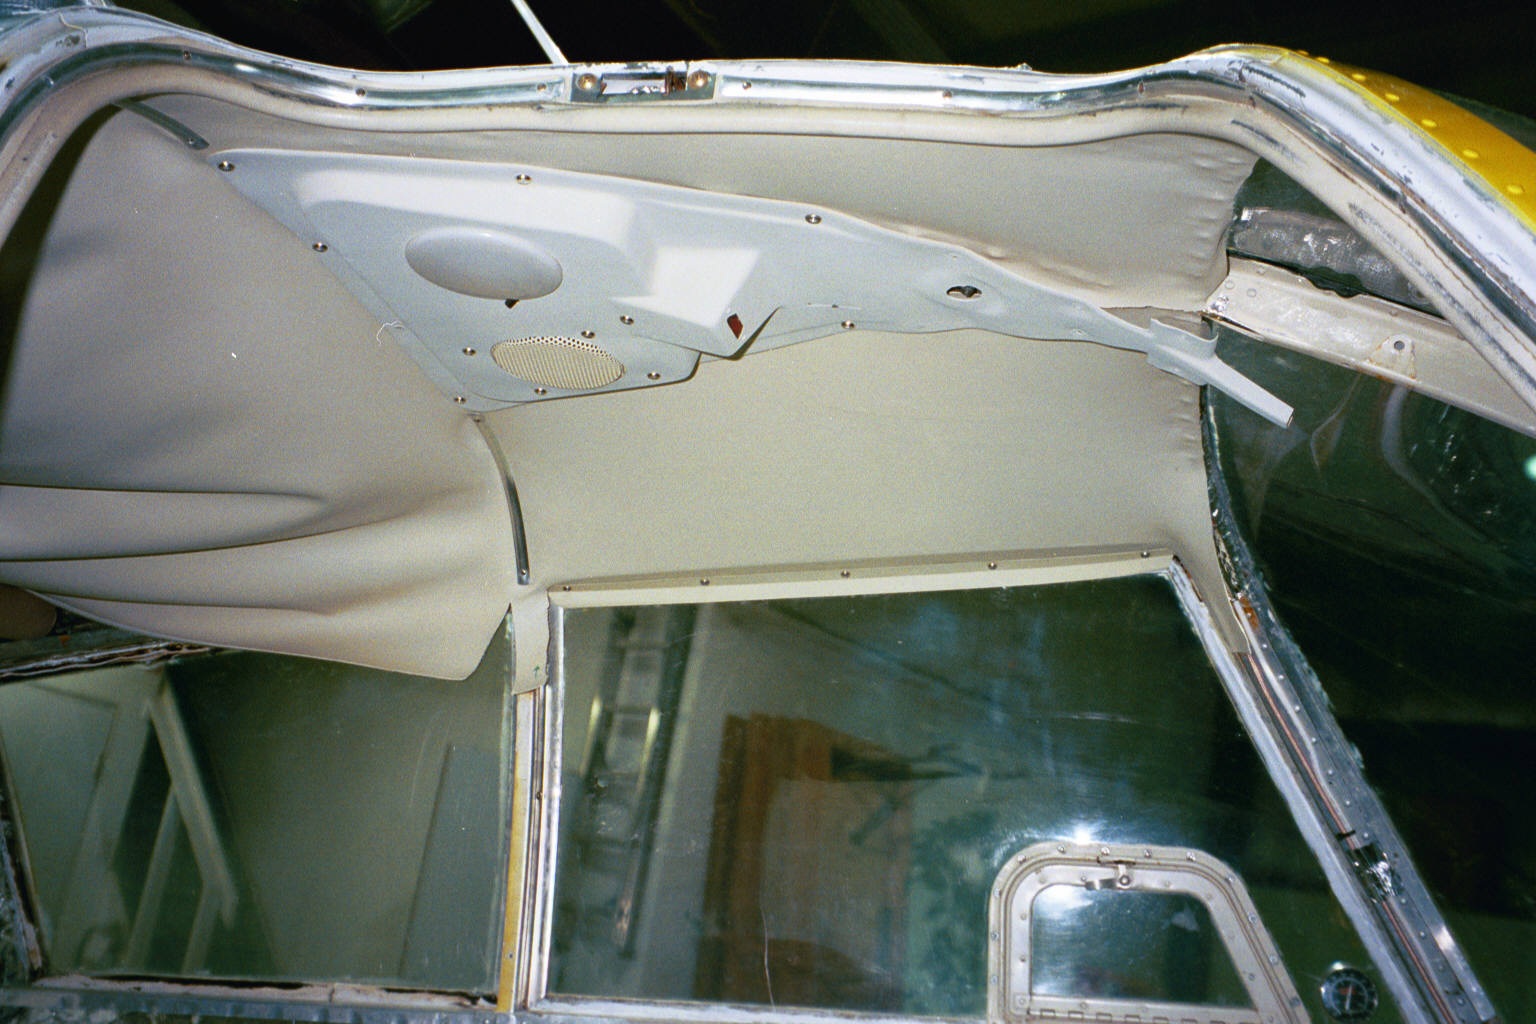
This shows the orginal grey interior. It was installed about 10 years ago
and was backed with a thick cardboard material. Over the years moisture has caused it to
shrink & warp. |
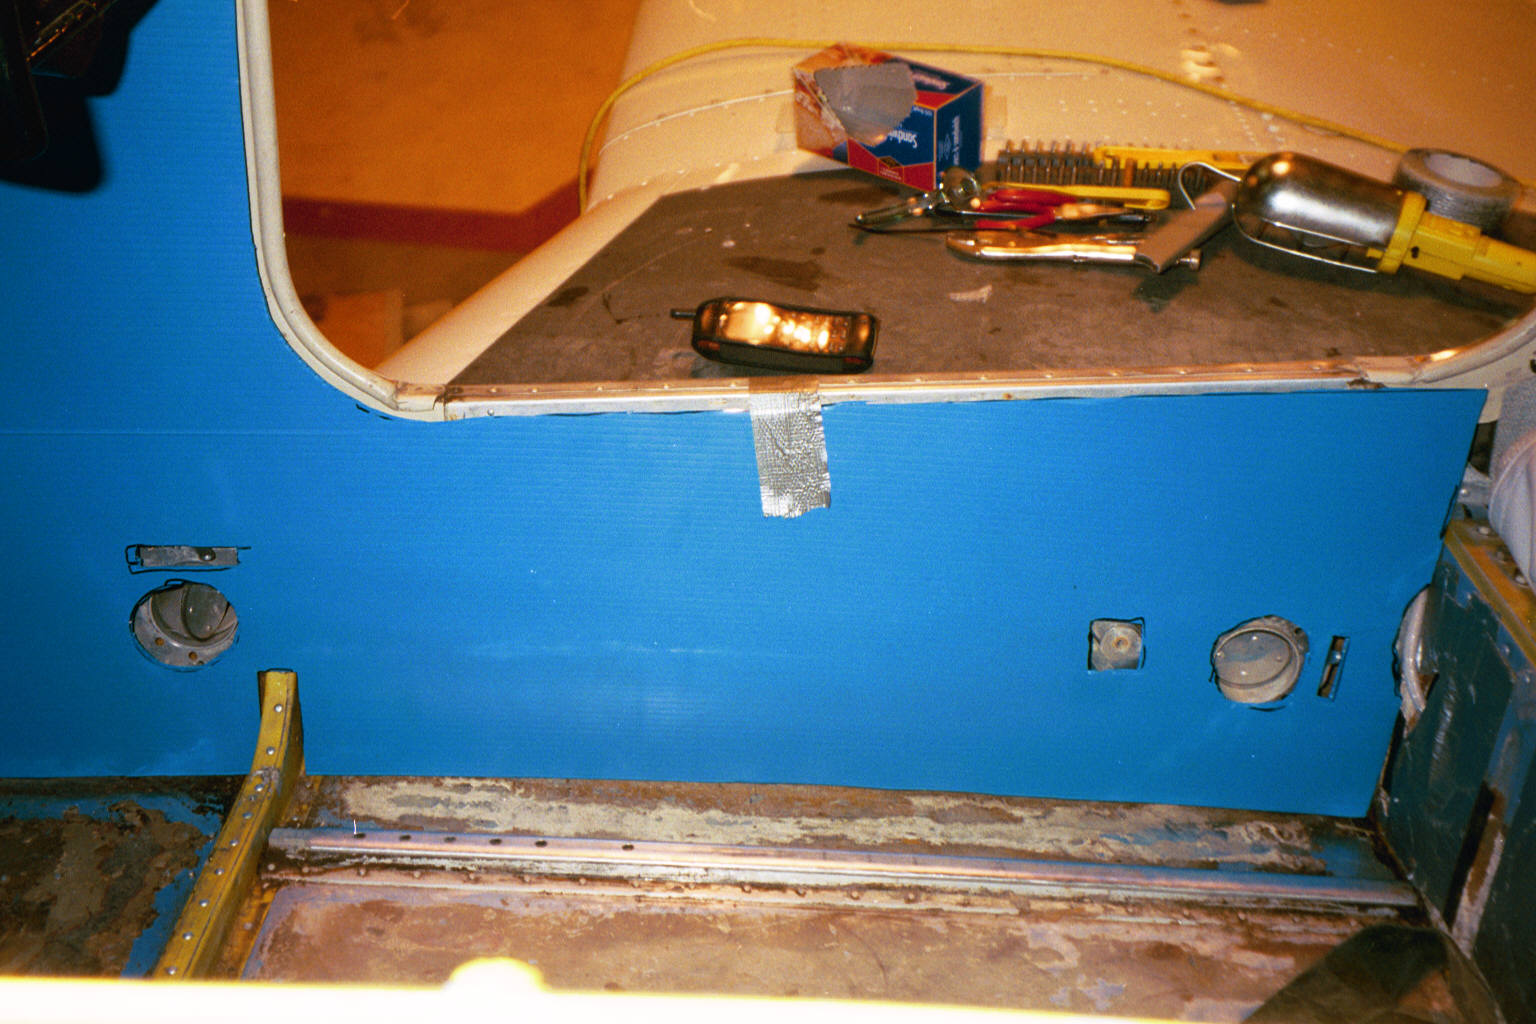 |
This is the "plastic carboard" sidewall that fits below the
cockpit door. I was going to use aluminium but on the advice of others, I decided to use
the more flexible plastic. This turned out to be a good idea as it was easier to wiglle
into place due to the flexability of the material. |
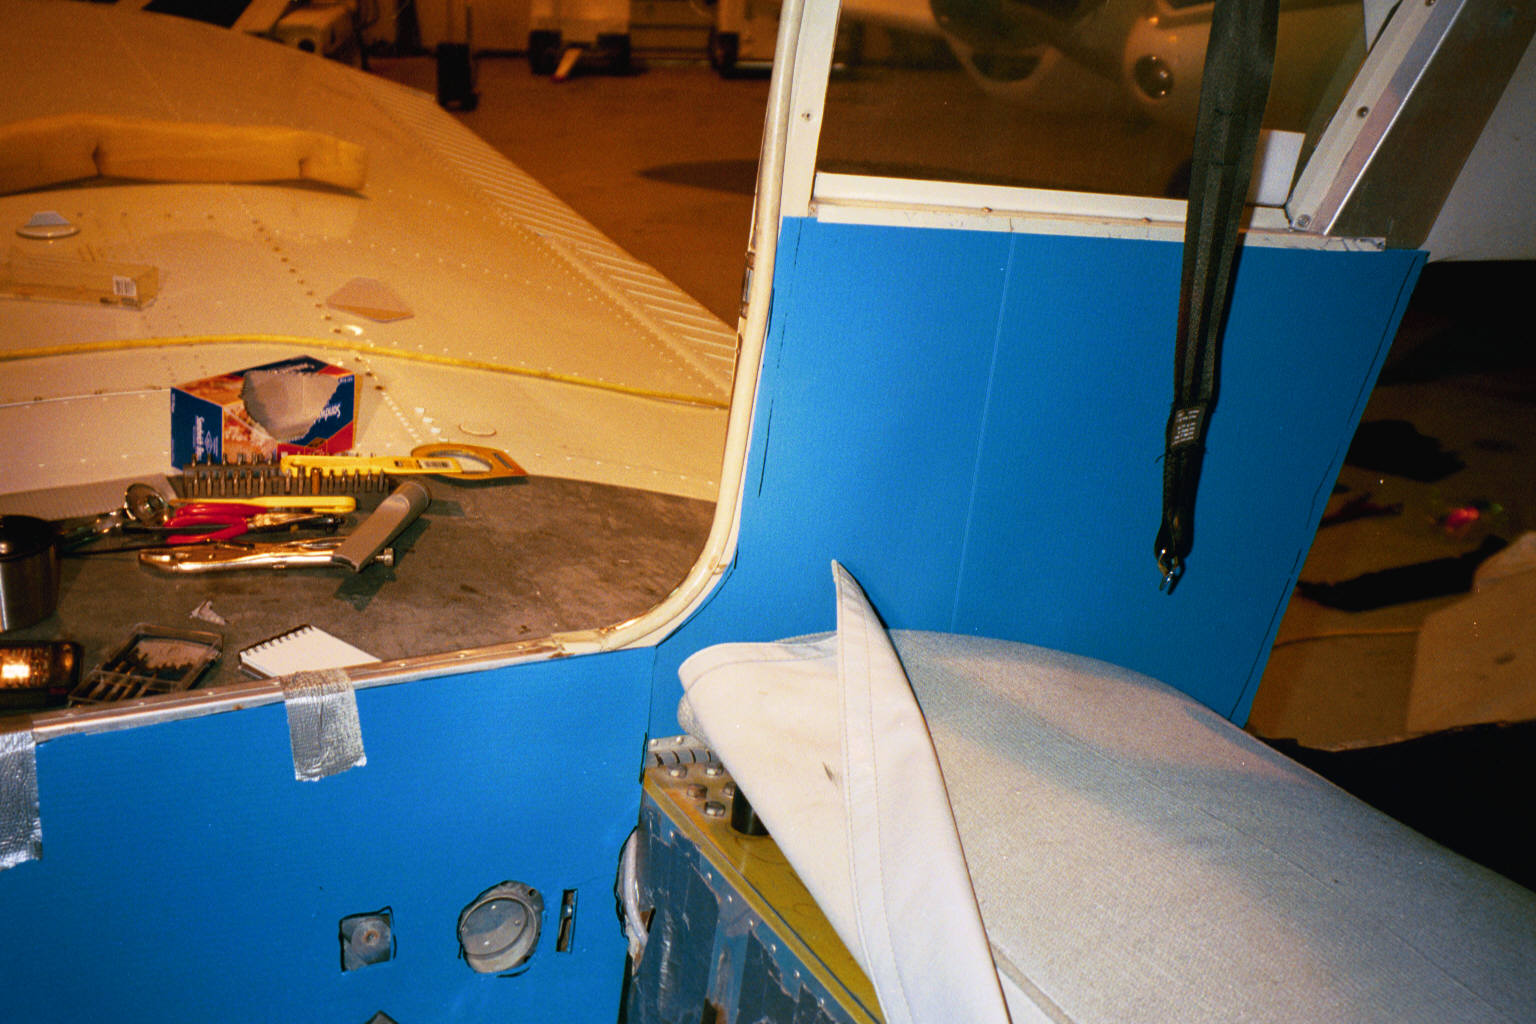 |
This shot shows the rear panel as well. I left the rear seat bottom in
pace to protect the control cables, autopilot servos etc that were underneath. |
 |
This shot shows the panels made for the pilot's side.. I used clear
plastic and found it much easier to use as I could mark cutouts while holding it in place.
The blue material was harder to use as it was opaque. |
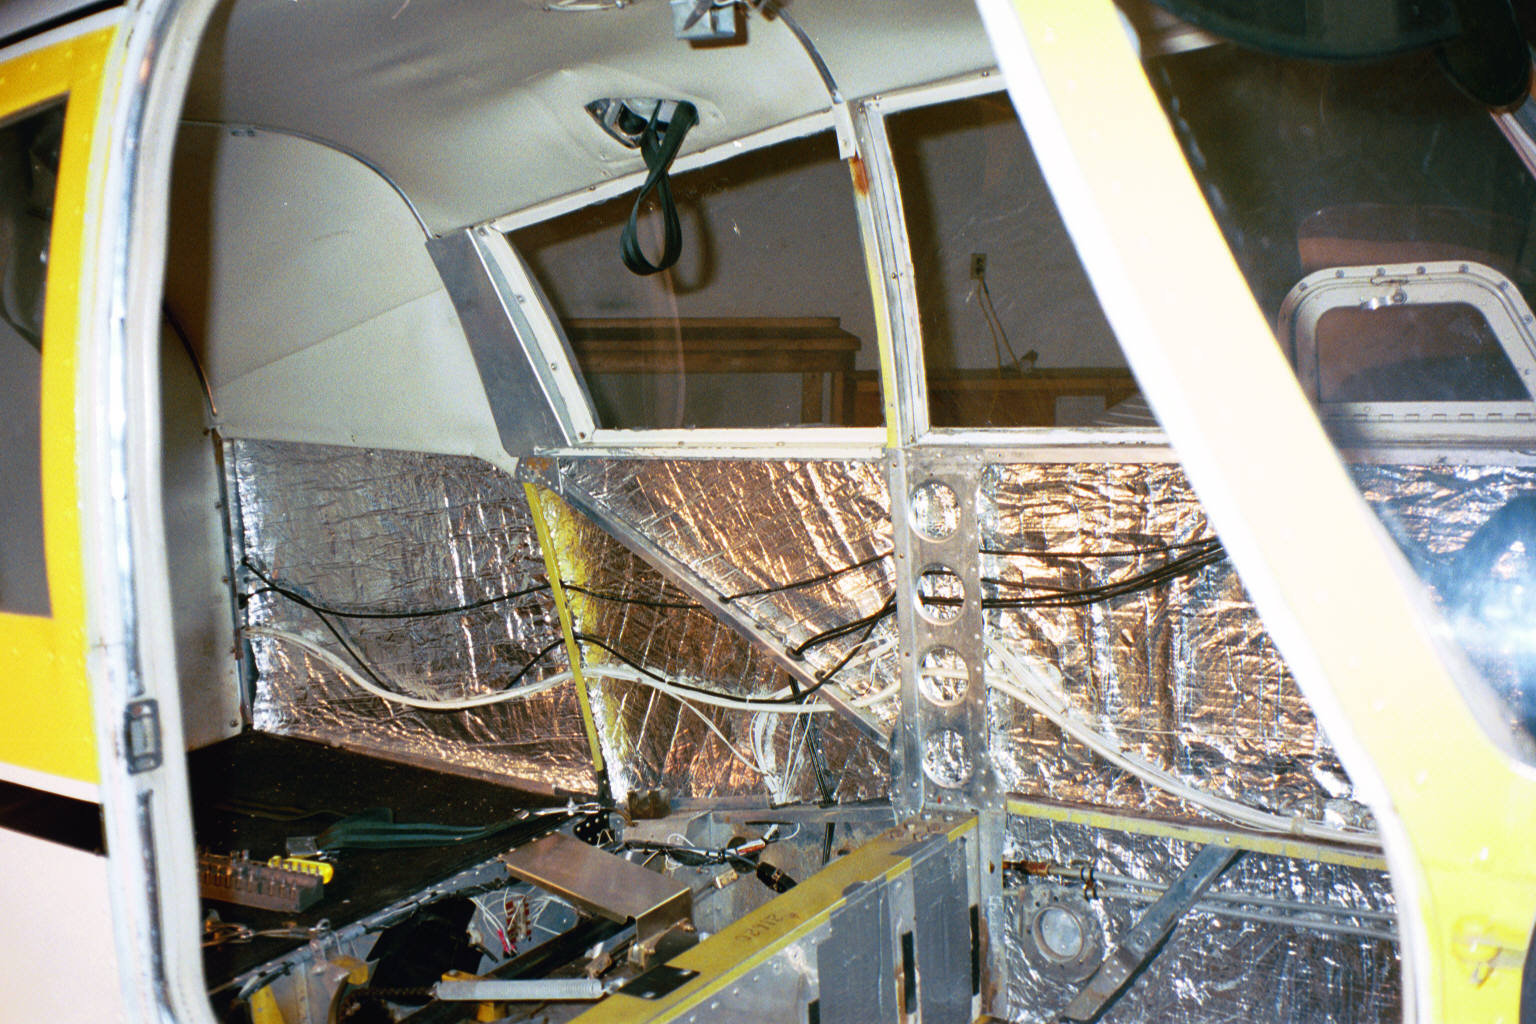 |
After I made the panels, I started installing new insulation. I used lots of aluminium tape to hold it in place. The insulation was a dense material that was covered with foil on both sides. It is fairly light and has good fire resistance, thermal and acoustic properties. I found it was simple to use the insulation as a template and then cut about an extra inch or so bigger. It was simple then to use a "pressure" fit to hold the insulation in place. I then used foil tape tape along the edges. |
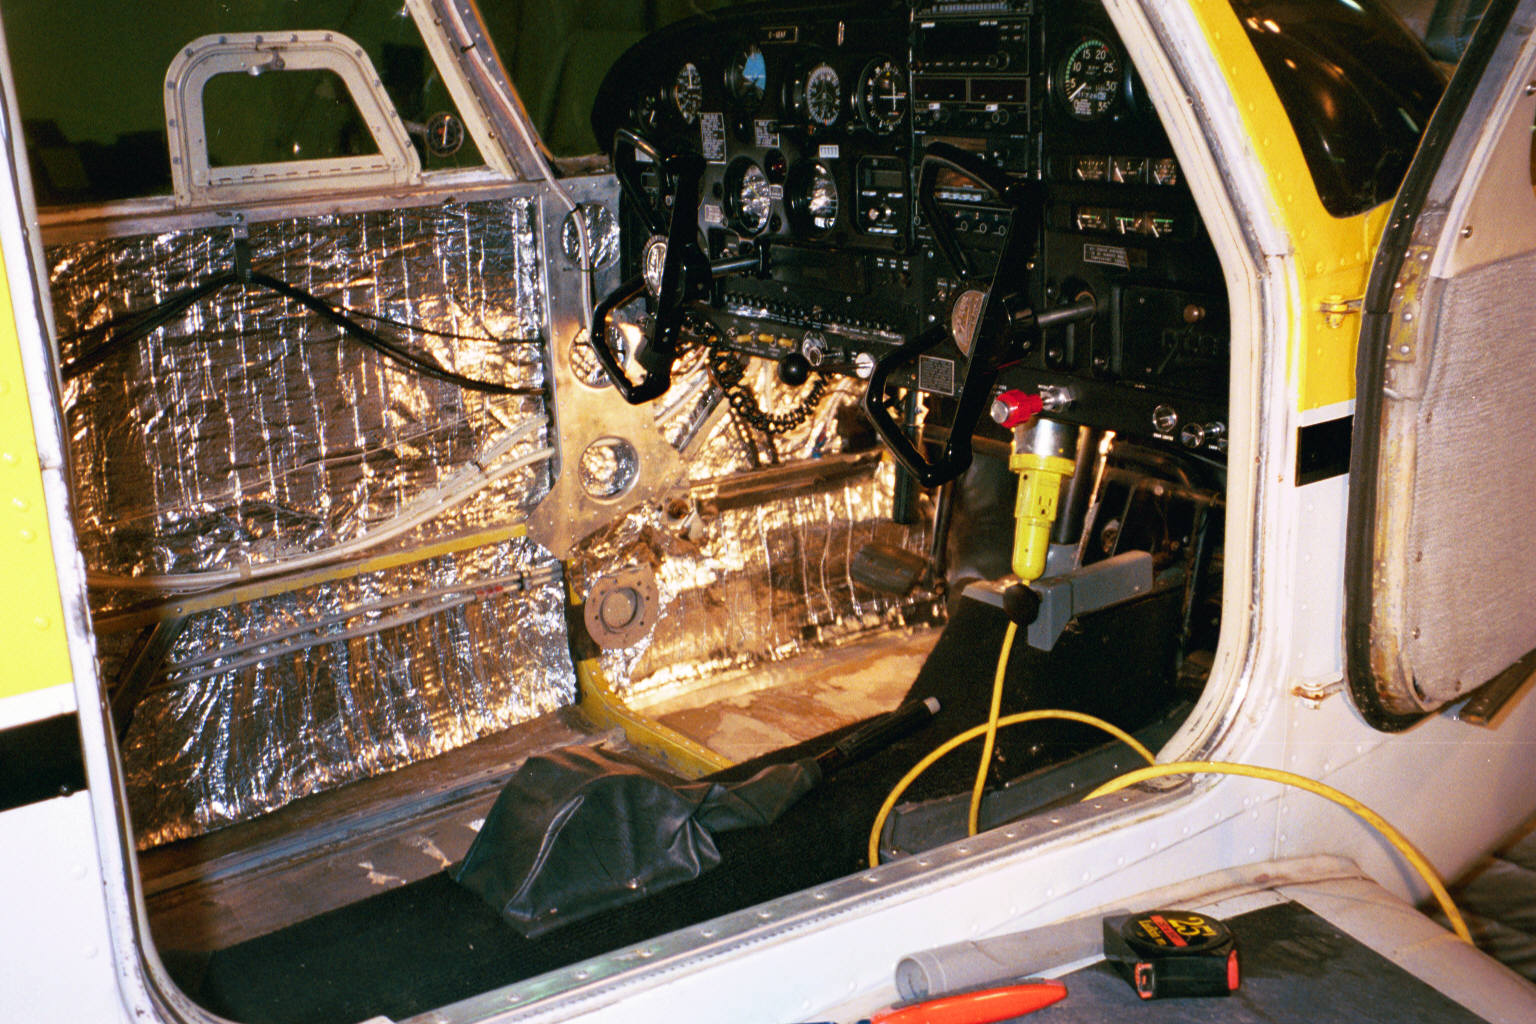 |
This shows more insulation. Note that I was able to feed it behind the
cabling etc except for area under the dash. I found the gas / brake lines were to tight to
the wall to allow access. I decided to put the insulation over the lines - much easier. |
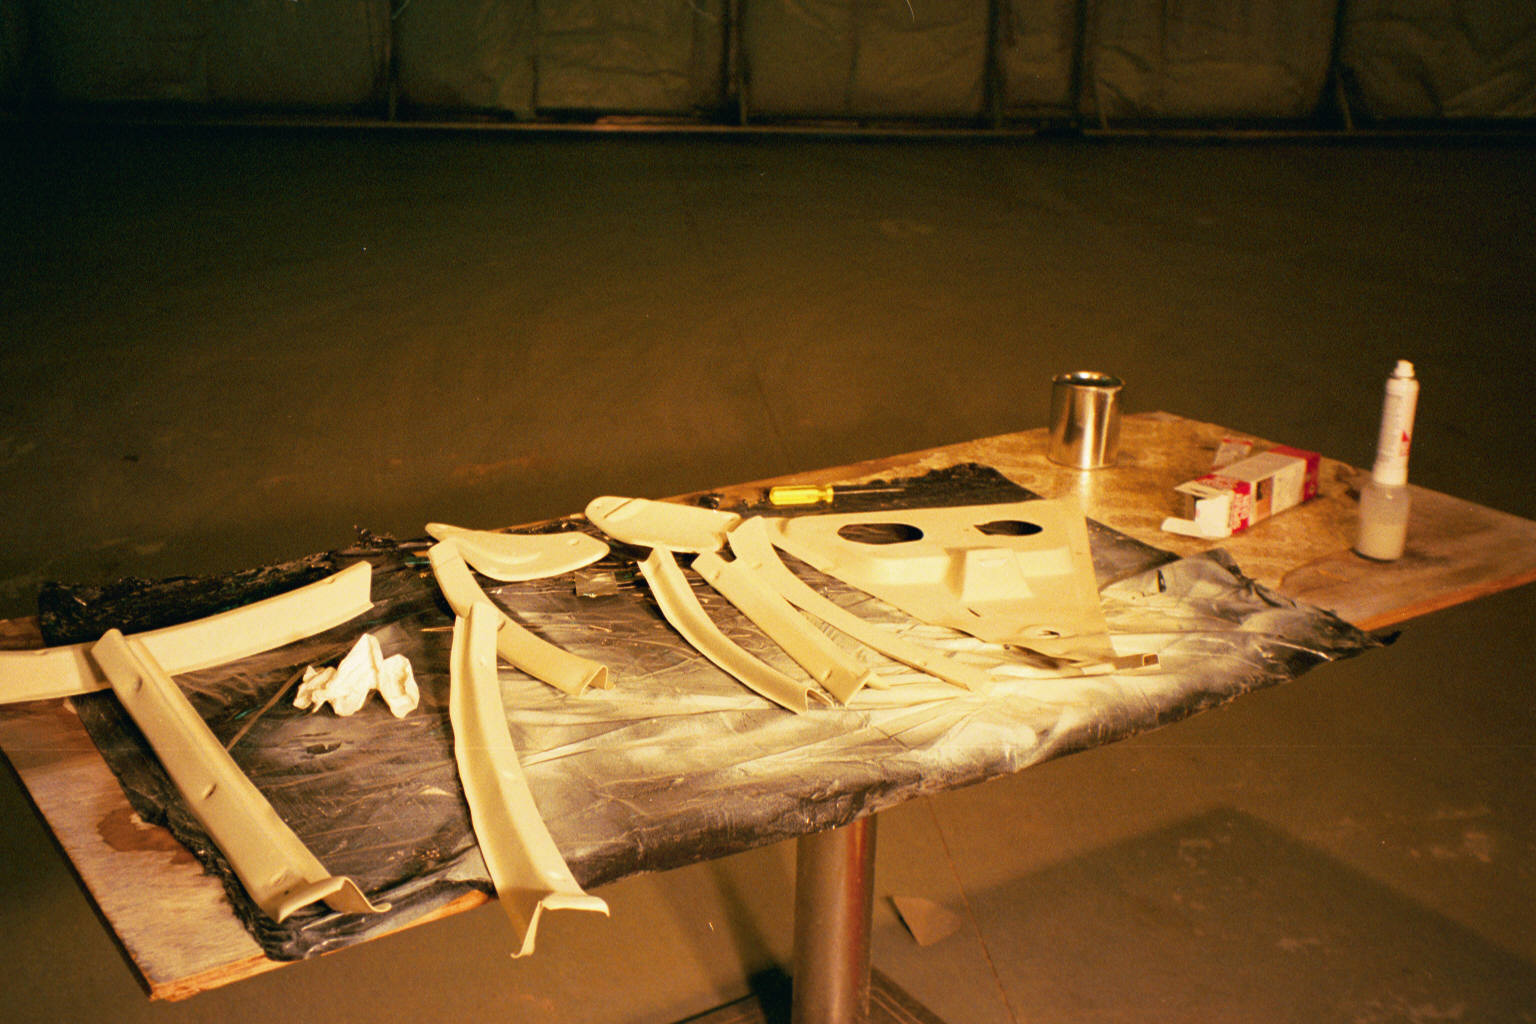 |
This is the plastic trim pieces that I cleaned and repainted with vinyl paint. I found that heavily stained pieces required several coast. I am happy with the result as the paint was really a dye material that penetrated into the plastic. I bought a small aerosol spray can for about $25CDN that worked very well. |
 |
|
 |
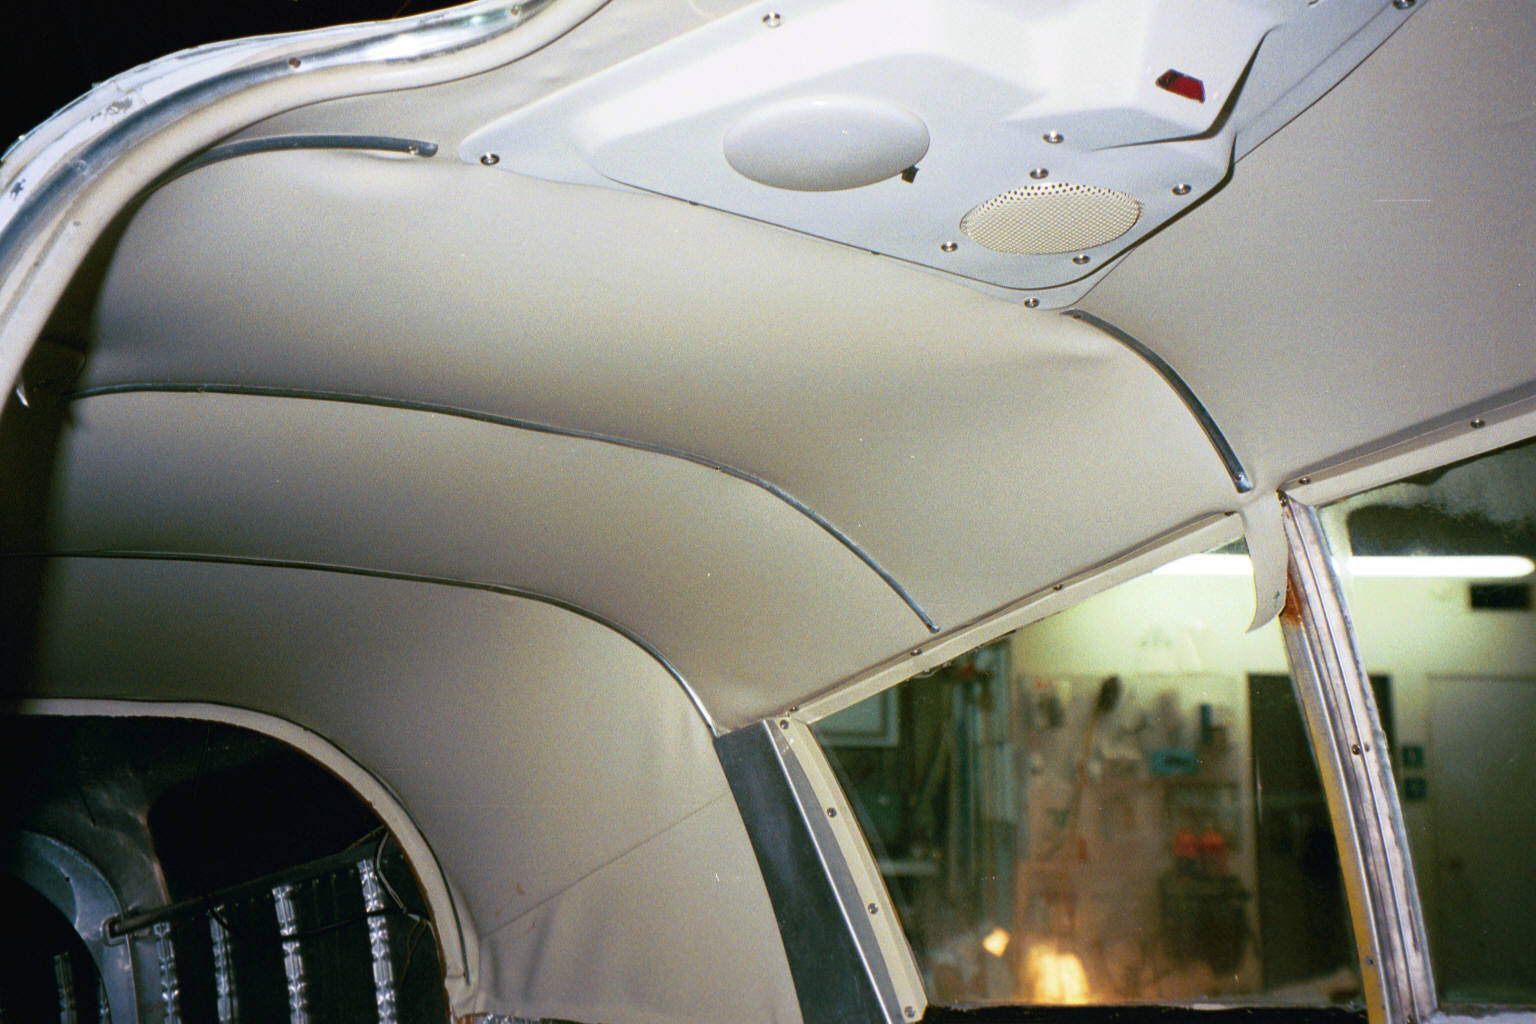
This was the hardest part - puttin in the headliner. I started by roughly aligning the headliner - which was cut oversized thankfully!. I used small clamps to hold the corners in place. And then spent a couple of hours trying tro figure out how to put it in place without making a mistake |
 |
I decided the best way was to start in the center of the cockpit and work backwards and forwards from that point. I started by placing the curved trim peices that went on the ceiling just behind the triangular overhead consol. These peices ste the alignment of the headliner. I then started stretching the headliner into place - I went forward first. |
 |
This shot shows the headliner after most of the forward section was glued into place. I used the best contact cement available. It worked like a charm. It was important to get the placement right because once the glue made contact with the frame, it was there to stay. |
 |
Here the rear of the cockpit headliner has been glued into place. I found that I could use stretch the headlined to the rear and then clamp it into place. Once clamped, I installed the aluminium strips that keep the headliner "up" in the rear. I didn't use any contact cement except along the sides above the windows. |
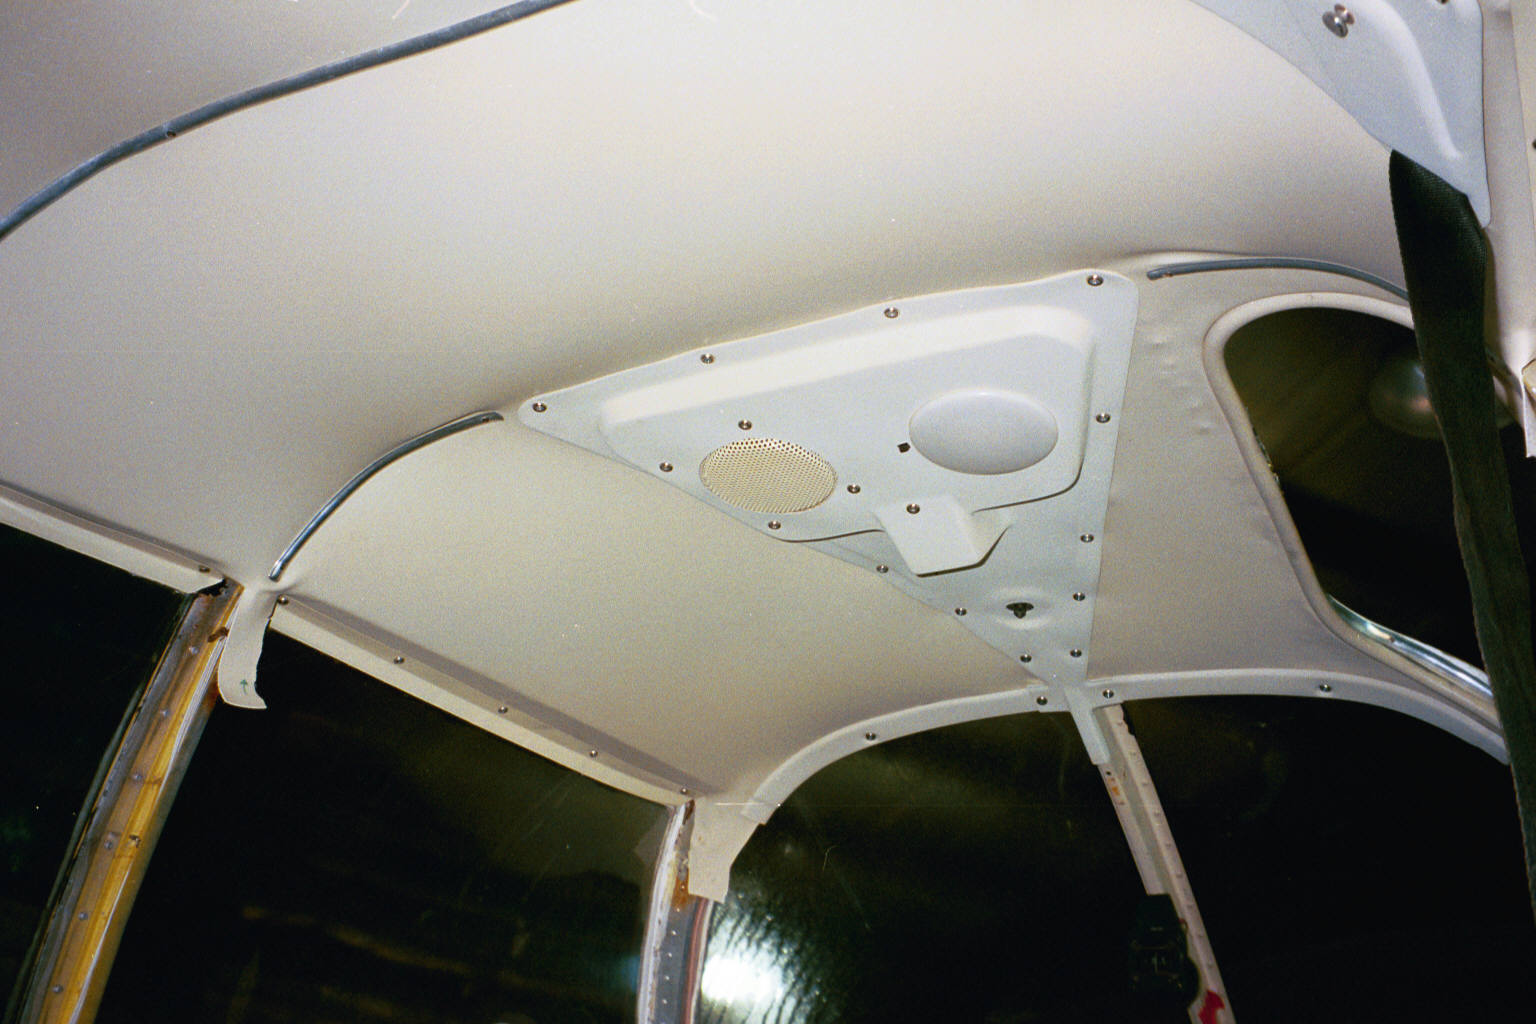 |
This is another view of the headliner. I only trimmed the excess AFTER the glue above the windows had set for a couple of hours. |
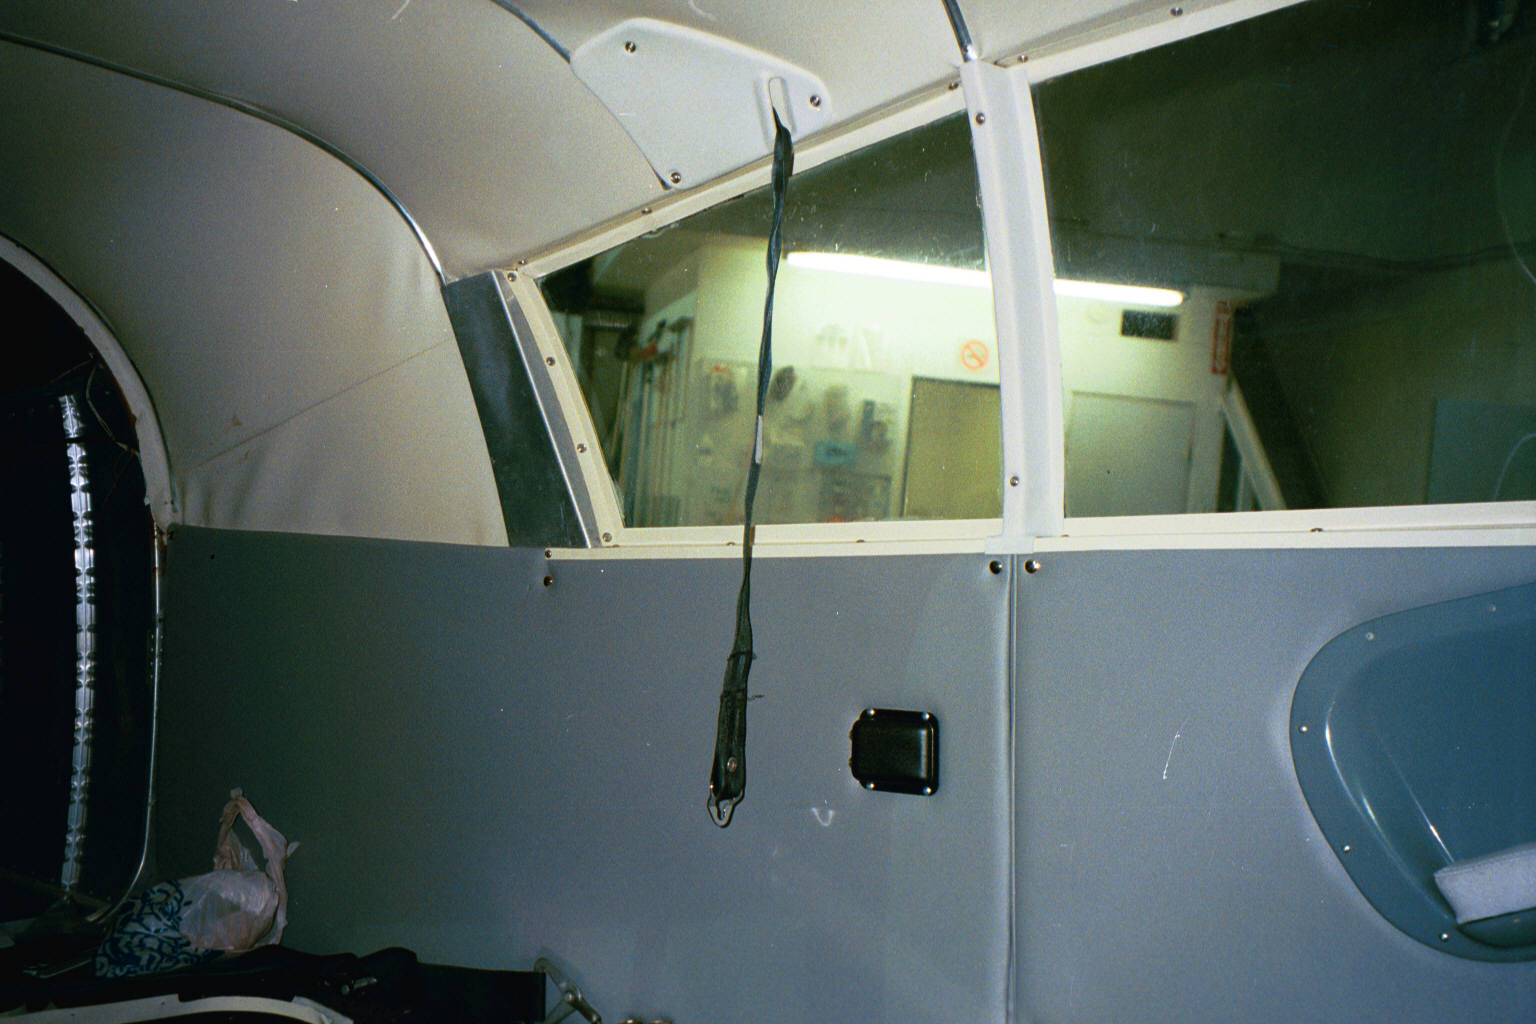 |
This shows the new sidewall panels after installation. The uphostery shop put grey Naugahyde over the plastic carboard panels. I fastened the panels using 1 1/2 inch wood screws that had chrome plated caps. I got them at a local wood finishing shop and they look great! I wanted avoid using plated screws with washers which I felt would look pretty crappy. |
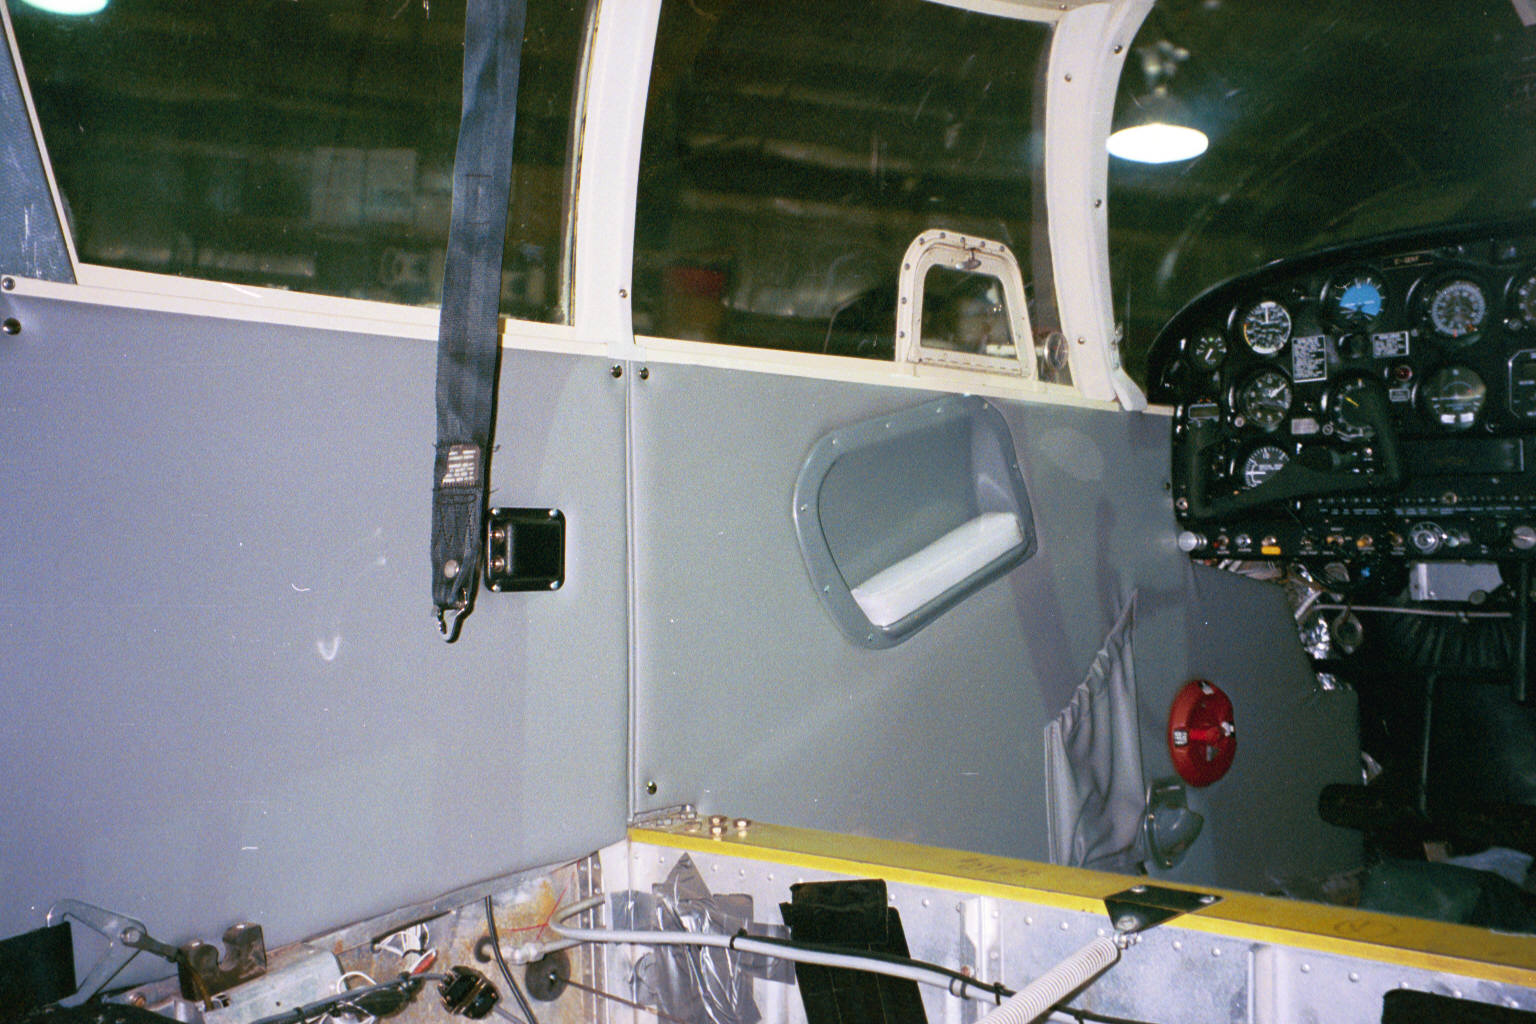 |
This is the final shot also showing the sidewall panels after installation. |